Tuesday, April 2, 2013

The Living Room - Day One

I still have more work to do on the cars, but at this point I'm waiting on parts to come in or help to install them. Rather than waste a day I decided to get started on the entry way. If nothing else I could get the tile removal out of the way and see what condition everything below is in.


The tile never stood a chance. The cement board extended to 4 inches from the end of the tile. There was no adhesion after that point. Never apply tile directly to hardwood flooring...


One thing I quickly noticed was that when I tried to lever with the bar against a tile to remove it, more often than not the bar sank into the top layer of 3/4" plywood. Things must be seriously bad in order for that to be rotten. It looks like something that was installed when the tile was around 2002.


Here you can see the cement board, the light colored plywood underneath, and below that the original, gray plywood subfloor. This stuff can't support weight of any kind and I had to cover the area with new plywood so no one will fall into the crawlspace below.


The mold problems were so bad that it grew up in between the pieces of backer board to get at the thinset used to install the tile. I pulled up enough pieces of the three types of subfloor to get an idea of what I'm dealing with, and I'm leaving the rest for a few days from now when I'll just take it all out with a saws-all. This should be EASY to do. The only major issue I see with the living room will be removing and numbering pieces of the hardwood flooring. Beyond that the structural work is straightforward. Remove the subfloor, install new piers, the beam and new joists and then install good quality vapor barrier in the crawl space before putting in new subfloor material.

At that point the plan is to move on to wiring, then I get to take on the kitchen... Pictures are going to start getting really interesting from this point onward.

The Living Room: Before Pictures

One of the things I learned from the last house site I had was that I didn't take enough before pictures. So here's a quick post with a few...


The floor may look like it's in good condition at a glance, but the finish is coming up.


It's worse over here. Hopefully all this is repairable.


You can see a bit of how the floor is sagging, but the baseboards are nowhere near level. I'm not sure what someone was trying to do when they were putting them in.


This is the view that will change the most after the project is complete.

And now, on to more current progress...

Friday, March 29, 2013

Garden Time

I'm finally wrapping up work on the outside of the house for now. That means dealing with the most embarrassing parts - the fence and former playground area. The fence gates were a bad design and sagged badly. I had an idea to support them with angle iron and some cable, and it worked great on the smaller, single gate. On the double, the cruddiness of the design + being however many years old outweighed the strength of the angle iron, and it broke the support. The new fix for the double gate is to just not use it. It'll be replaced when the whole fence goes away. I would really like to have a fence made out of brick so I never have to deal with this again. Every house I've lived in had a wooden fence of some sort, and if I wasn't able to catch the fence when it was young it seems like it needed all sorts of repairs.


And now the garden... You may remember from way back in the first post of this blog there was a playground in a back corner of the yard. It was part of the listing for the house, actually and much to my surprise it was gone at closing day along with numerous fixtures. Long story, but that nearly prevented closing from happening at all until they made things right. The previous owners even took the mulch and wooden borders that were installed in the ground, leaving only landscape fabric. It's been an eyesore since day one and I had to make a decision... sod that part of the yard or do something else with it. If I put in grass it'll be difficult in the future if I want to do something else there, or I could plant a garden and if we want to put in a playground or whatever it won't be so bad to change it over. I went for the garden.


These are pictures of how the eyesore looked before. You can get an idea of how overgrown it was getting by tall grasses. Surprisingly, the landscape fabric wasn't that damaged.


I installed edging around the border and had 4 yards of pine mulch put in. The truck was able to drive right up to it and dump everything in the garden so spreading it all around was easy. The area weighs in at 460 square feet at least. We're growing sweet corn, garden beans, spinach, okra, peanuts, black cherry and regular tomatoes, orange mint, spearmint, and garlic chives. I also plan on getting a pomegranate and pecan tree, but those will go at the side of the front yard.

Since all the outdoor tasks are complete and I've been waiting on car parts to come in I decided to start working on the living room. Whoever installed the trim in this house around 2002 used some huge nails to put it all in. They're about three inches long and installed at every stud. Corner blocks are held in with six to eight of them. It's a complete overkill and makes disassembling anything difficult. I'm really concerned about removing the crown molding because they're probably installed the same way.


I have all the baseboards out (held in place with only one nail each for now), but here's a preview of what I found underneath them. When I start pulling out the tile I honestly have no clue what I'll find. There's a repaired area to the left of and at the front door and it's unclear where the hardwood flooring was and wasn't. The flooring is a lot more level than I thought; it's the baseboards that weren't installed correctly, making everything appear out of level.


I'm probably going to finish installing all car parts that I ordered today, and will be able to finish planting the garden and working on another car tomorrow. Sometime this weekend I will probably start removing tile from the entry area and try to dig down through the subfloor so I can begin carefully removing the hardwood. My plan is to run three lengths of blue tape down the floor and slice it along every piece of wood so each row can be numbered. I'm also numbering the reverse side. With any luck the subfloor will be in poor enough condition so the hardwood can be carefully removed and stored until it's time to be reinstalled.

Pictures will start looking really interesting, really soon...

Tuesday, March 12, 2013

New Lights!

We finally have new outdoor lighting by the garage.


I really like it. We were having trouble finding lights that weren't an arm and a leg that are mid century modern or just modern/contemporary looking but ebay came to the rescue. The install is nothing to write much about... old lights come off, new lights go on.

I'm also finished painting. The only thing left to do are fascia boards on one wall. I was hoping the color would come out a bit darker, but this will be ok. It's nothing to lose sleep over. I also need to paint the shutters. They're going to be the same color they already are because the house came with about a gallon of the stuff.

The old landscaping fabric and grass has been pulled up and it'll be time to put in new fabric later this week. With any luck I'll have the area filled with river rock by the weekend and will be moving on to the next project. I'm going to clean up the area where there used to be a playground and lay the groundwork for a garden. At this point I have no idea what to plant, just... something. I'm also going to be repairing all 3 fence gates soon, so there should be another update this weekend with pictures of how everything came out. I'd also like to add a picture or two of the overall concept for the place viewed from the street if I have time to get it on paper by then.

Once this is done, that pretty much sums up the outdoor work that I'm doing this year. Then it's time to move on to car, truck and lawn mower maintenance and then on to the first big project for 2012... the living room and kitchen. I really have no clue how long it all will take. This could be quick, or be more difficult than I thought. At this point the 'while you're in there' stuff doesn't seem too bad and I really doubt there will be any structural issues beyond what I already know about because everything has been looked at so many times but we'll see.

Saturday, March 2, 2013

Painting

Since the last update, for the most part I've been prepping the house for paint. I could have just thrown a layer of paint on the house and been done with it but in only a year or two it would be peeling because the older layers are in poor condition and the gutters weren't primed. I had to do the right thing and scrape / burn the old stuff off, and prime the gutters. This takes a lot more time than it sounds like it does. I focused more on the entry area than anywhere else because it's the most visible to us and anyone who comes over.


This is what it looked like both before and during the process. The grooves between pieces of siding were filled with paint and it was peeling away. The almond color around the old, ungrounded outlet is the color we decided to go with. I guess in terms of paint colors we've gone full circle back to the beginning. When I rework the front living room I'll put in grounded wiring and a new outlet.

This is another shot of the entry area. I cleaned up the area around the front door some, but since it's unclear whether we will replace only the actual front door or the front door + frame (likewise for the windows to the right) I didn't remove all paint back to the door itself. 


We plan on getting a door kit from Crestview Doors to replace whatever style door we have now. I would like to use the escutcheon that I bought off eBay that's almost too perfect to install, but it may not be compatible with my favorite door kit so we'l have to see... Replacing the door will come at the end of the living room/kitchen project anyway because the height of the floor by the front door will be changing, and that dictates what size door and side light we get.


This is how the entry area looks now since I haven't painted beyond priming yet. You can see the lines for the paneling once again and there's no more peeling paint. If we decide we can't live with the wood up above I'm more likely to replace it than scrape the paint from it because it's just thin plywood. The old plywood would be recycled as flooring in the attic instead of being thrown away. In the long run it's not so important anyway because once it's time to re-roof we'll probably change the entire orientation of the roof and if that happens, there goes the plywood.

My plans beyond painting are to clean up the landscaping and repair our horrible fence. Then comes car maintenance and after that the big projects start up... With any luck that's only a month away.

Sunday, February 17, 2013

Garage - Complete


Work on the garage doors is finally complete. I had someone watching from a nearby palm tree while I sanded the last one. It's an Eastern Screech Owl, and it sat around all day.


It has huge green eyes. This is a little while before it flew away in the evening.


I had to remove all the glass on all three doors. If your windows look like this after you paint, masking tape is for you.


Here's how everything came out. It took about a year, but all three doors look the same again. Next time I'll try and find someone who refinishes boats or doors to handle this job. I also cleaned up the driveway and sidewalk, and power washed the front of the house to get everything ready for paint. I won't be changing the color much - it'll just be a bit less white.


I've also been thinking about future projects while finishing up all this winter stuff. One of them is raising the ceiling in the living room, and I always wondered how high I could go. It looks like the answer is a bit above 11 feet at the high end. There really isn't anything up there besides some a/c ducts and wood to support the ceiling which will be going away.


It's also been time for cleaning. I haven't been able to take care of the white sectional in way too long. Leatherique cleaned it all up. It's the only thing I've been able to find that gets all the dirt out - even the stuff that's embedded in the leather. I tried to get a picture but it didn't come out very well.


We've been doing more planning for the kitchen and I've finally started marking the floor to see how everything would look in reality. We've already made a few small changes. The biggest change will be to add a pantry and knock down a large load bearing wall. The tape on the wall marks of two columns that will go in, and the white mark on the floor is the corner of the pantry. There are also a couple of dots on the floor for the center of the double doors and how far they will swing out. Next to the hallway are a couple of marks where I plan on installing a floor cabinet. I'm not sure if a wall cabinet will go in as well. This is where things like backpacks and purses will go to hide instead of out in the open.


We decided what to do with the doors. In this area I'll refinish the original doors, and the casing will be flat wood stained to match. Something that sounds so simple has been a huge problem for us to try and figure out but we finally know what we want.


This is what it'll look like in the living room. The wall in the living room is about 18 inches longer than it is in the kitchen. The opening between the living room and kitchen will more than double in size when you take into account that the white columns will be gone, not to mention being able to see between the area by the sink and the living room.


I'm going to spend the next month or so on winter tasks. The landscaping is halfway done as well as painting the house because I've finished a lot of the preparation work. Then I need to take care of a few things with the cars and truck, then plant a garden where a playground once was. After that it's time to move back inside and start pulling up the flooring in the entry and front living room. That's when things will really start to get interesting.

Sunday, January 20, 2013

Poplar - Finished! Now, back home


I've been up to more than a few things since the last update. First off, I finished all work at the house on Poplar St. The driveway is complete and it here's how it looks.


Bricks starting to go in... music by Armin van Buuren at the jobsite.


Halfway done.


And, complete. It really wasn't so bad - this took just a few hours to do.


Here's how it looks from the other side.


There was also a problem with the door to the main bedroom. Somehow the back side was broken nearly completely off, and unfortunately I couldn't find a replacement at Habitat so I had to fix this one. It was pretty easy... cut a piece of wood to match what was missing (which wasn't even real wood!!!) and glue in place.


Before.


After. This is of course, before I painted it white and rehung the door.

There was also a problem with the heater over there and I called a HVAC place to change out the disconnect box. While over there I went up into the attic and looked around. Up there was an old wooden vegetable(?) crate and a small radio from the 1940s, along with an original light fixture for the bedroom. I'm going to grab the radio later today. It's missing the electronics but could maybe be repurposed for something else.

And... back to the house this site was SUPPOSED to be about. I'm hard at work on winter tasks and making pretty good progress on them. The middle garage door is finished now.


It went from green, to this... 


And finally this. Pay no attention to the writing on the driveway... I also pressure washed the sidewalk and deck, and decided to write a few things on the driveway while I was out there. 

Still remaining on my list of winter stuff to do is, 
- Stain the deck
- Refinish the last garage door
- Power wash the house, caulk and repaint all trim.
- Remove grass and black fabric from the landscaping, lay new fabric and put down river rock
- Repair our horrible front yard gate... easily the biggest eyesore in the neighborhood

Three of these tasks will take only a day or two, but the garage door and painting will take longer. Once THAT is complete, I get to start on the big project for the year. The kitchen/living room/whatever else comes along.

From a construction perspective, the best order to work in is to remove the flooring and subfloor from the living room, add a beam underneath for support and replace the poorly-designed, structural deck post underneath the house with a new pier, and then take care of all vapor barrier issues in that region of the house. Next up are new joists and then I can lay down the subfloor.

After that I'll move on to the kitchen, removing everything from in there and doing the same structural and vapor barrier work as the living room. Then the wall between the family room and kitchen will disappear, I can take care of electrical/plumbing/gas, put the walls back together and essentially build the kitchen back. Returning the living room to normal will come last.

In the past I've done a bad job of posting "before" pictures, so here are a few now.


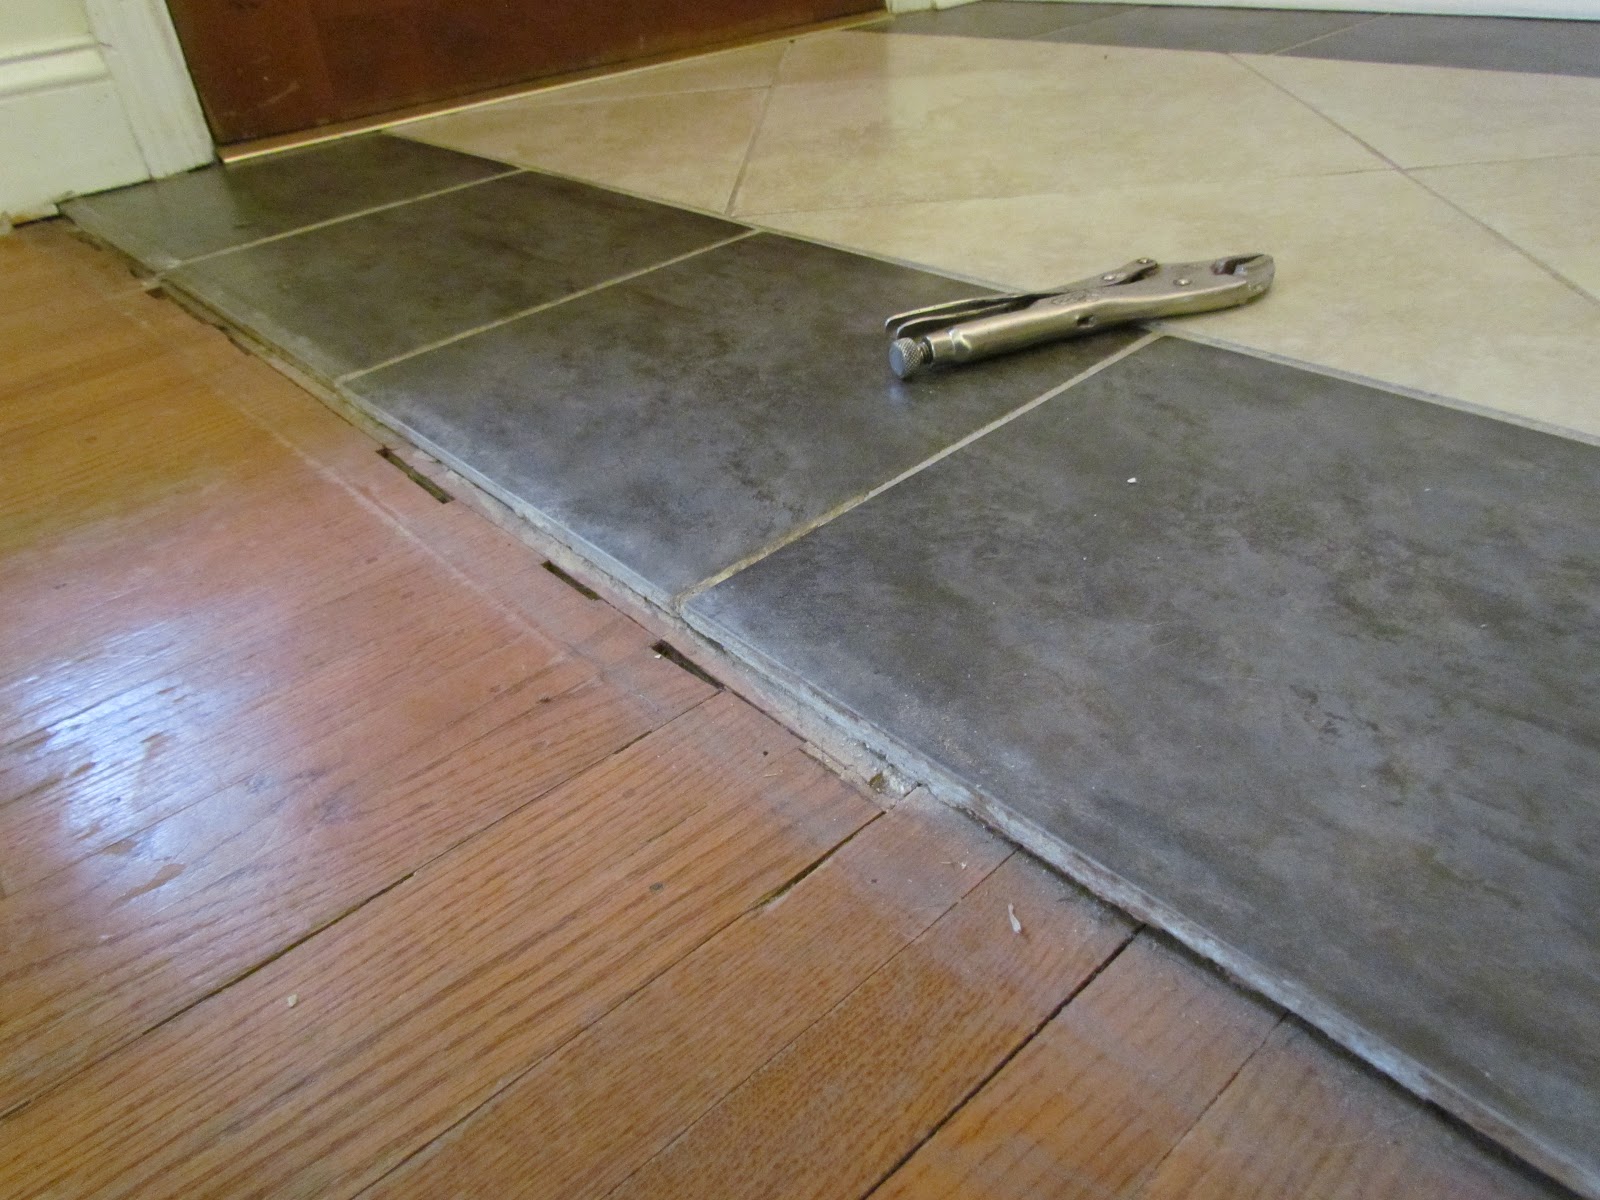
This peninsula will go away. The stone flooring will likely carry forward from the kitchen to the front door (on the right)


We're considering leaving the wall oven in place and moving the refrigerator to the right of it. The cooktop will go where the refrigerator is, and the spot where the sink and dishwasher are will become a peninsula. I'm tempted to add a narrow, 4 drawer cabinet to the left of the dishwasher.


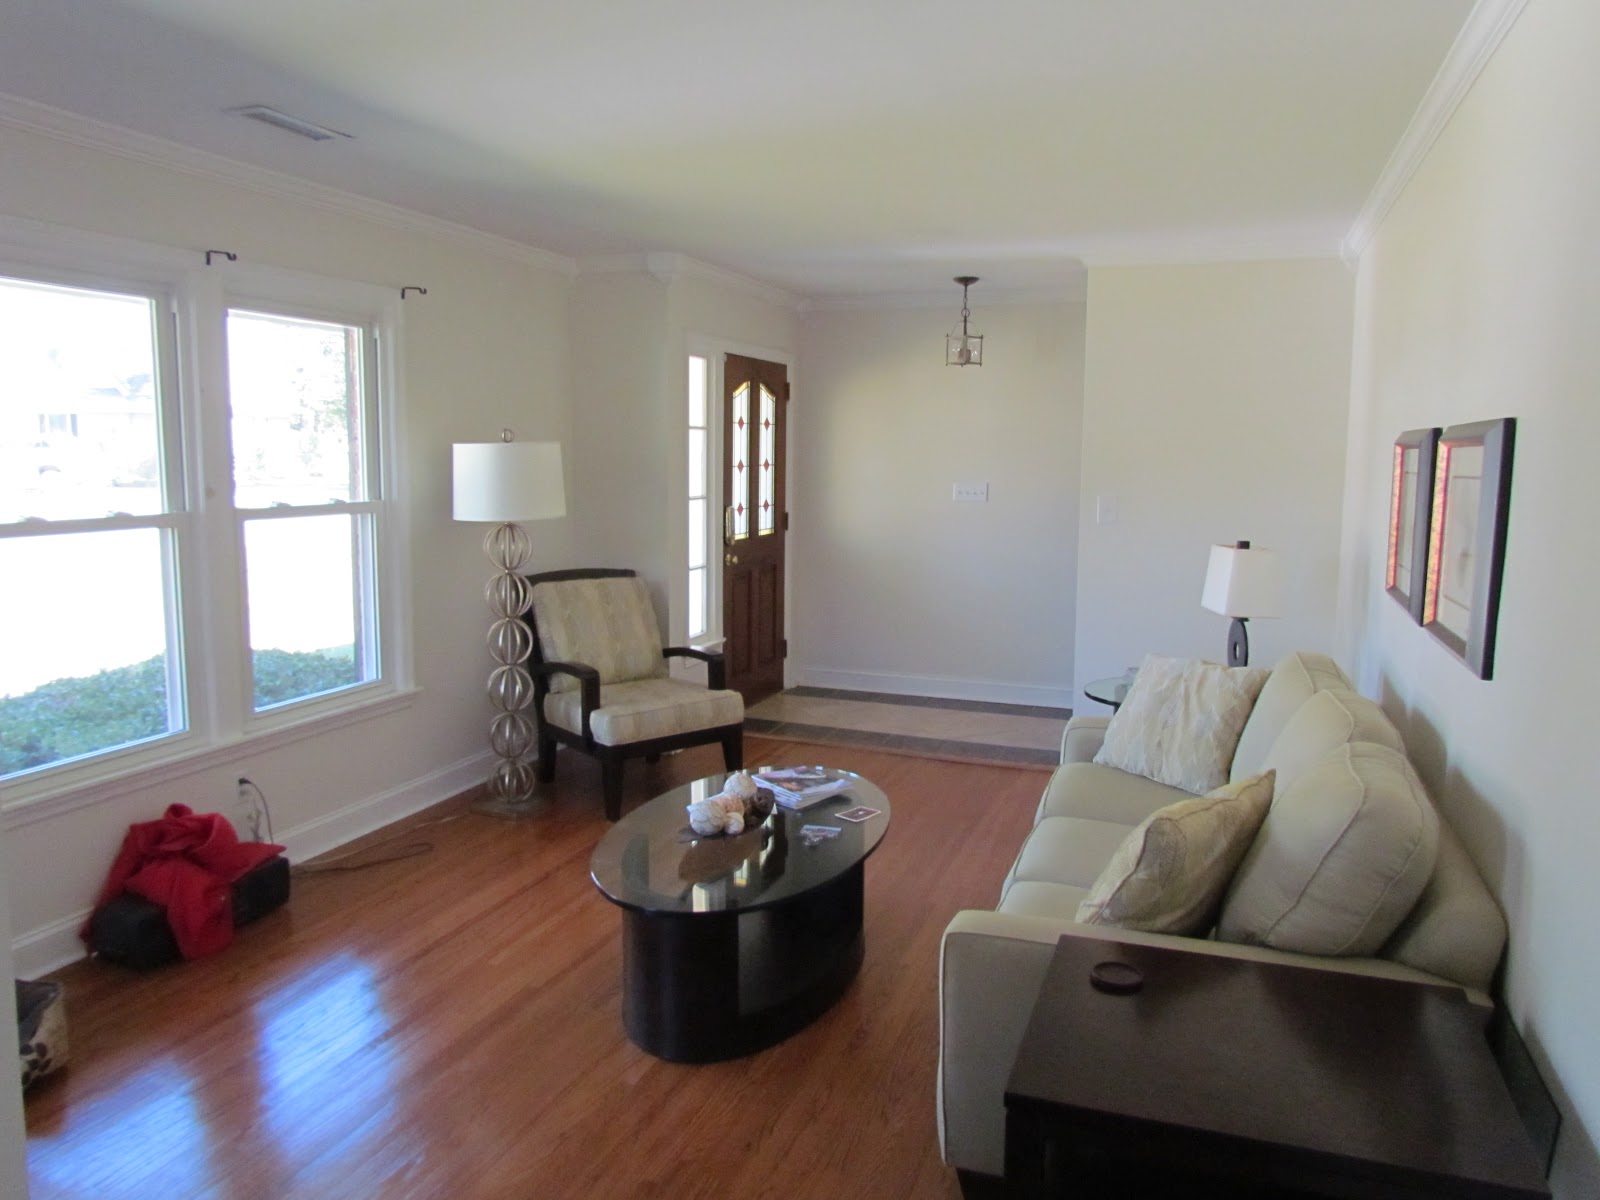
This is the view towards the kitchen from the living room. This wall will go. I'm ok with there being a header about the height where the one for the door/window is now since eventually the ceiling in this room will be higher anyway. The window used to look out to the back yard from the sink but now just goes from room to room.


Another shot of the wall that will be removed. There's a header in there somewhere for another window that was covered up when the addition was made.

We have a pretty good idea what kind of cabinets we like and are starting to work with countertops. We went to AGM in North Charleston to look around and didn't find a lot that both of us were crazy about until at the end, we saw this.


It has HUGE areas that just glow. We've never seen anything with color quite like it. Once we have an idea how much we'll need, we're paying for it upfront to make sure that we'll have it available. The slab behind this one has too much green to it; we like the front one much more.